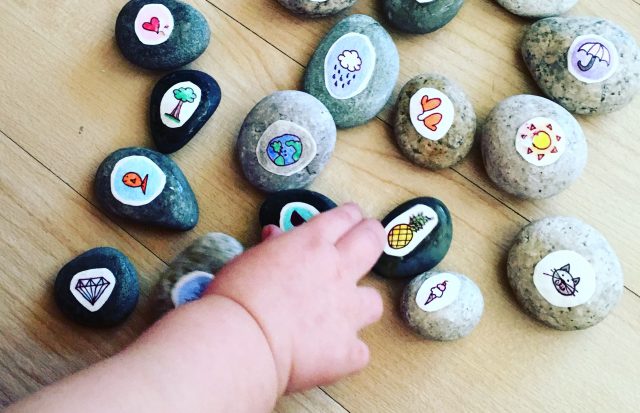
I’ve had a lot of interest in the set of Story Stones that I made for Olivia, so let’s talk about how you can make your own, how you can use them, and why they are such a helpful developmental tool. Story Stones are simply a set of small stones with vibrant pictures on them. I love Story Stones because they engage all of the three main learning domains in some way: the bright pictures provide visual stimulation; the act of moving the stones helps with tactile development; and talking about the stones (alone for older children, or with an adult for littles) helps with auditory processing and oral communication.
The primary purpose of Story Stones is to help inspire children to craft their own stories. Storytelling is a wonderful way for children to develop creativity, imagination, and communication skills, but most children require prompts to help them with their storytelling. Using Story Stones, children can look at the images on the stones, and maneuver them into different positions to help with the storytelling process. But there are so many other wonderful and developmentally appropriate ways for much younger children to use Story Stones!
Toddlers: Olivia loves to line the stones up in rows, move them from one container to another, and shake them in a plastic tupperware container. We sit and look at the pictures, and she loves to pick out the nouns she recognizes: “fish!” “heart!” “meow!” It’s very exciting when you see a picture of something you recognize and can start putting a word to that image!
Pre-K and Kindergarten: Story Stones are wonderful for developing a wide range of skills. Pre-K and Kindergarten children can sort stones into categories such as colours (shown below), animals, or foods. Another great use is for phonics practice. I like to use simple flashcards and have students search for a stone that starts with the appropriate letter for each card (shown below). You could also make two identical sets of stones and use them for a fun twist on a classic game of memory where children must find the matching stones. At this age, I would also recommend you simply allow children to play with the stones – you might be surprised at all of the ways they discover, play and learn on their own!
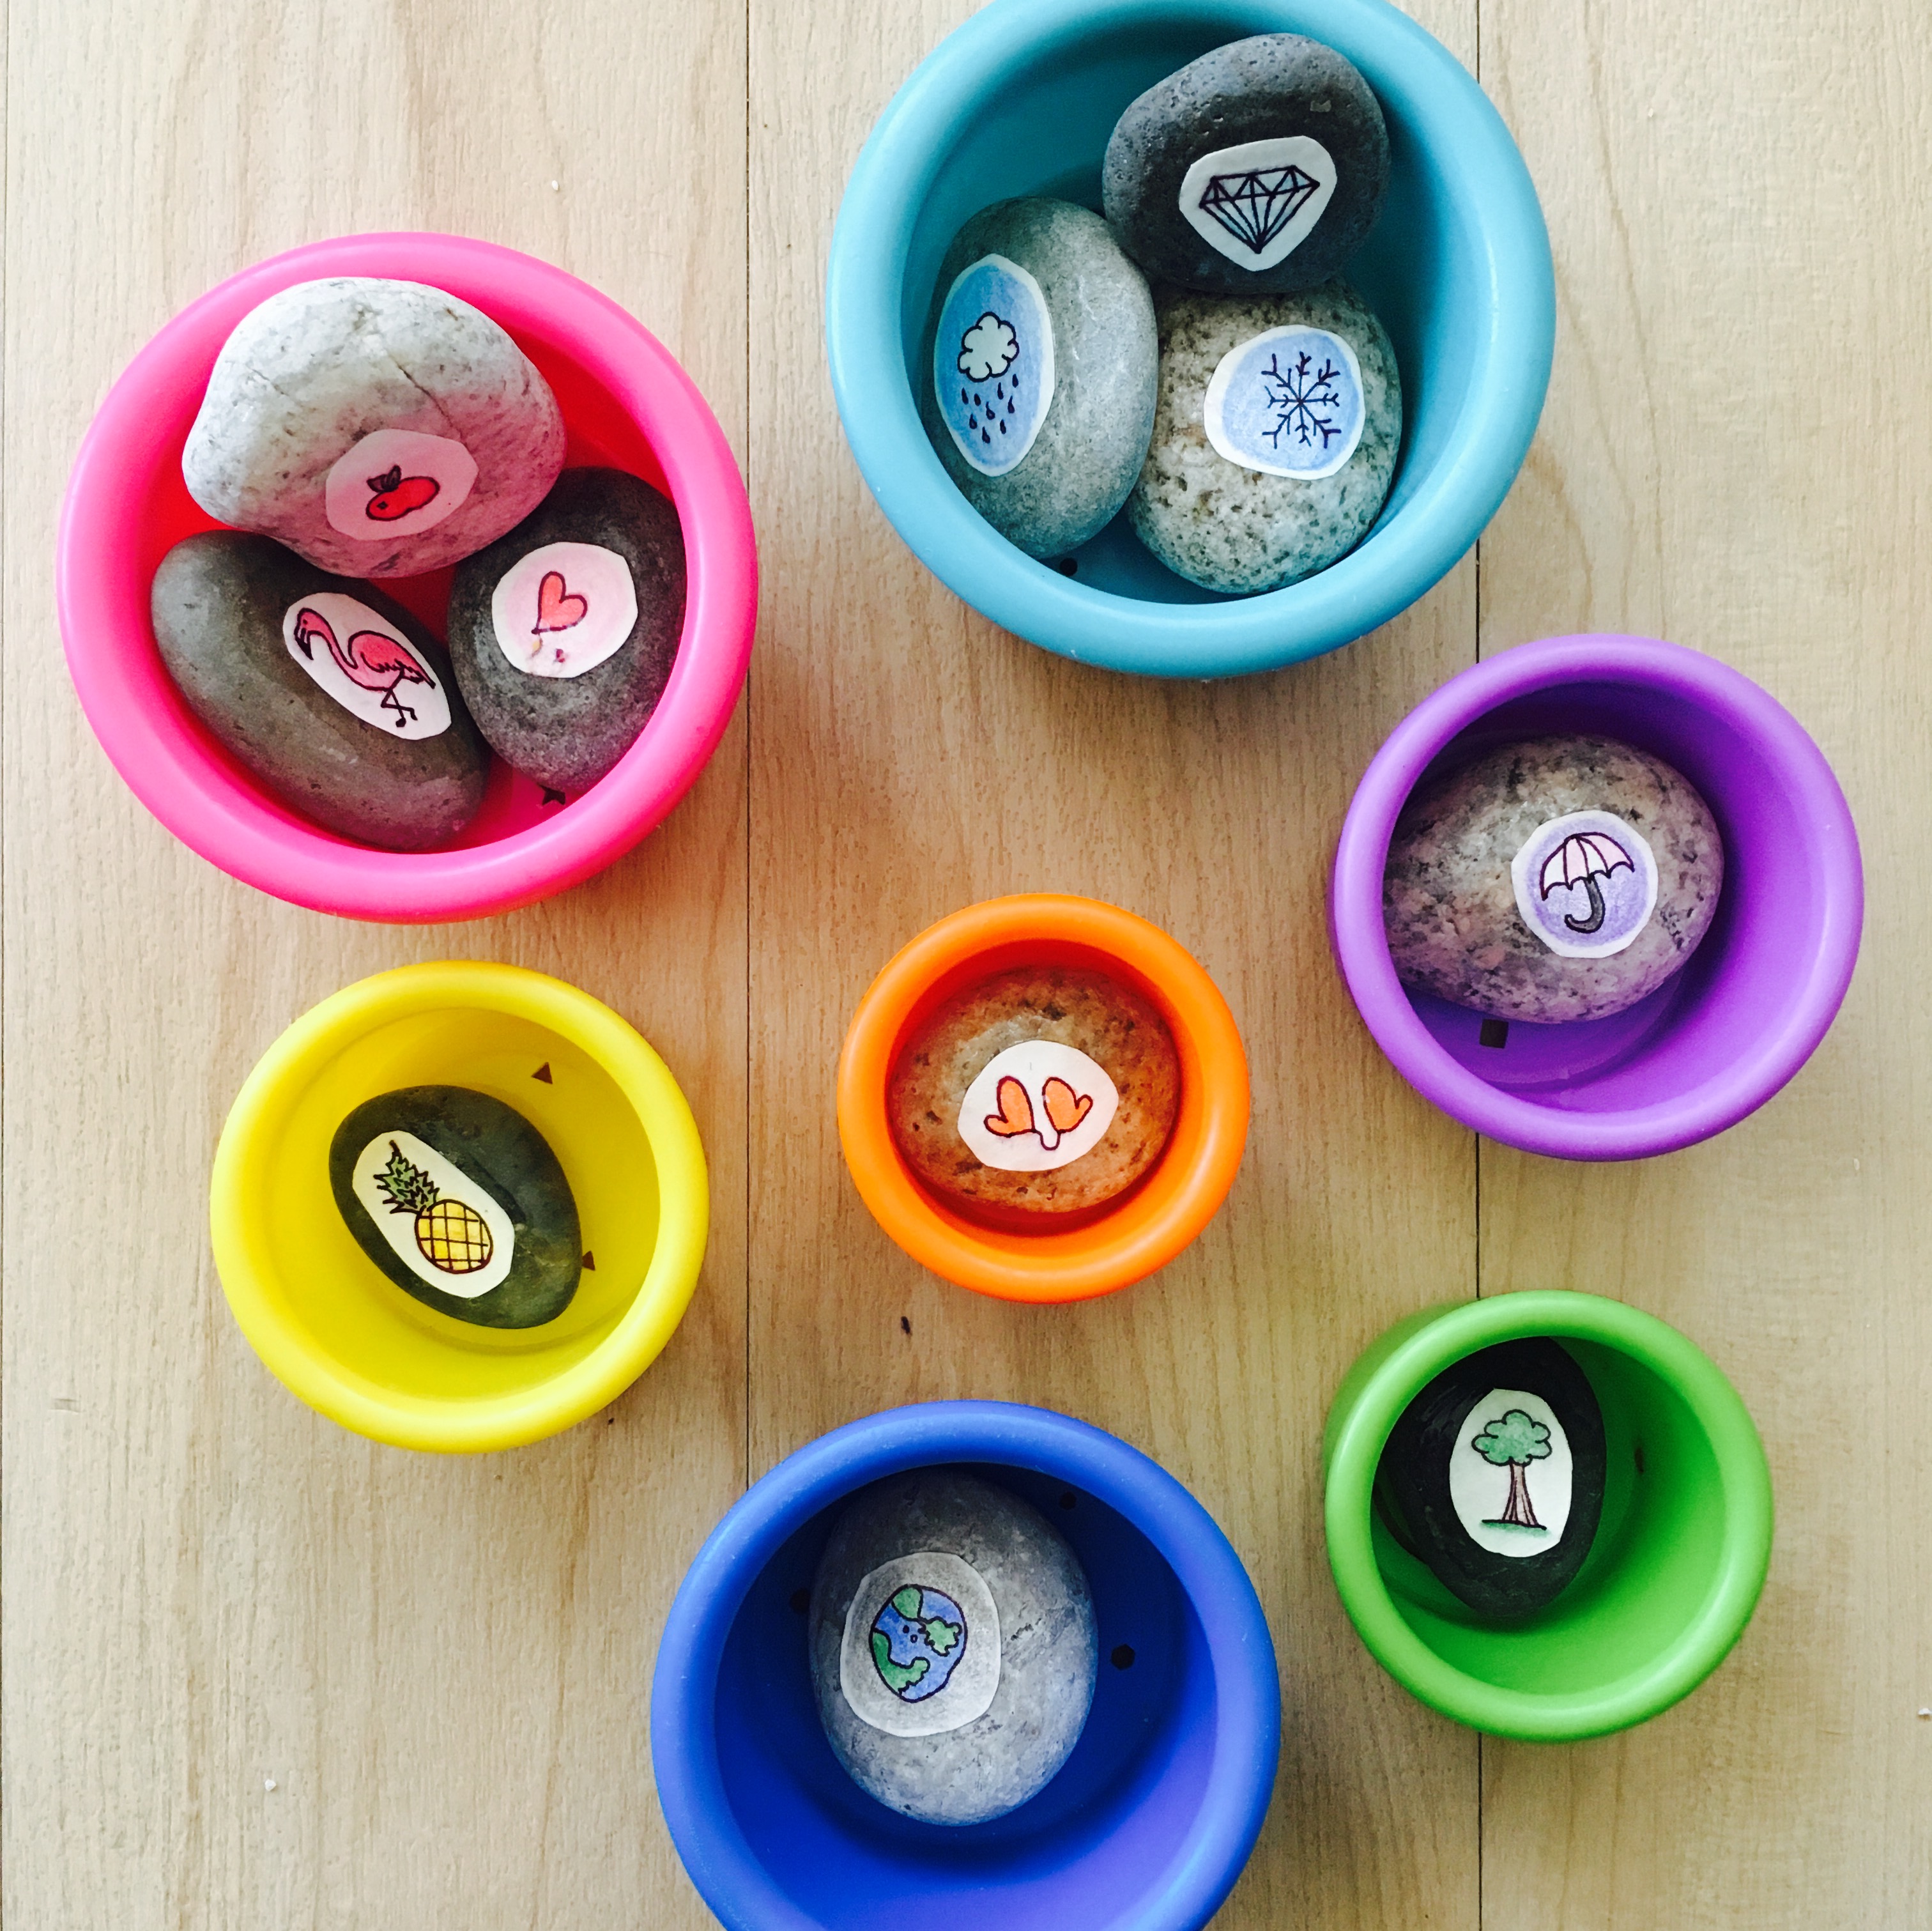
Sorting by colour.

Working on literacy development.
Elementary: Elementary students can use the stones for storytelling, as described above. A fun and challenging variation I like to add is to have a student select one stone randomly from a bag, and create a sentence inspired from the stone they selected. The next student then selects a stone and also tries to create a sentence inspired by the image on the stone, but the goal is for their sentence to build off of the one before so that the group creates a unique story one sentence at a time. This is a great team building exercise, or advanced activity for students who could benefit from a challenge.
Alright – time to make your Story Stones!

- I drew some simple pictures on thick drawing paper with a smooth black pen, and coloured them in using pencil crayons. Use materials and images that are meaningful to your family! If you’re not particularly artistic, you can cut images out of a magazine, or print out some images to colour yourself.
- Cut out all of the images, leaving a small white or dark border to help your images stand out against different coloured stones.
- I ordered a small set of “garden stones,” but you can also check the gardening section of your local hardware store.

White borders help these pictures stand out against dark stones!
- Modge Podge is a strong adhesive that dries clear, hard, and smooth. Spread a generous amount onto a stone using a sponge, place your image on top, and then cover the image and a large area of the stone with more Modge Podge. Don’t worry about using too much – mine were pretty gloopy and I was worried they wouldn’t dry nicely, but they ended up clear and cute.
- Put some wax paper onto a baking sheet, and place your stones on top to dry. Allow them dry overnight and enjoy!
*please use large enough stones so as to not create a chocking hazard for toddlers!